If you have the urge to play your old light gun games of the 8 and 16bit era, and you have a Wiimote lying around, then why not use it on a MiSTer FPGA to play those games. This post will show you how. If you want to see this blog post in video form then click on the below video.
So to begin, make sure you have these requirements.
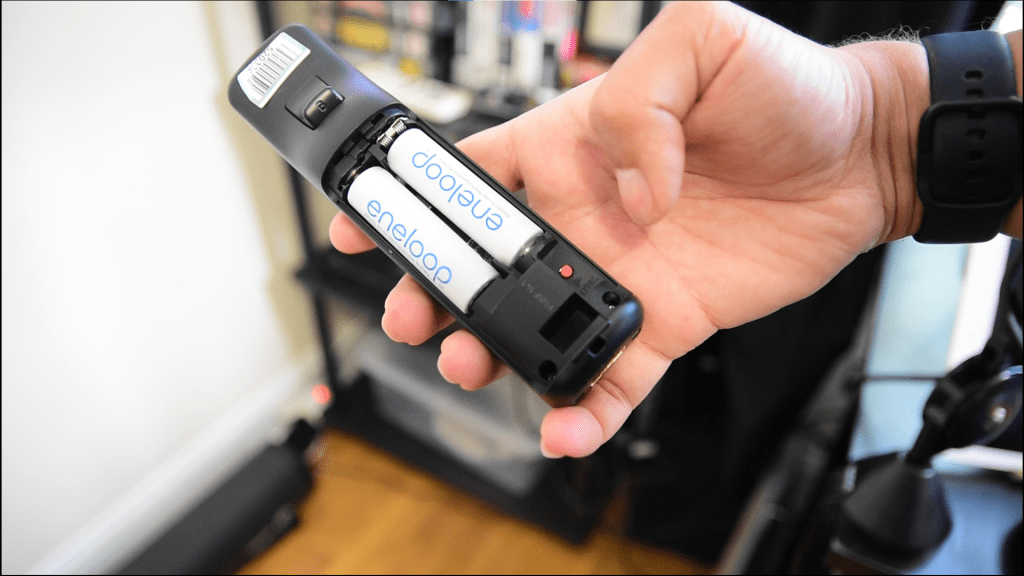
- An official Nintendo Wiimote
- 3rd party controllers have issues, but you may luck out and have on that works.
- 1st gen Wiimotes work best, but Motion Plus Wiimotes work with the caveat that you will have to sync them after every time the Wiimote disconnects from the FPGA
- A sensor bar.
- I recommend a sensor bar that uses a USB connection instead of the official sensor bar. That way you can plug it into a USB Hub that the Mister is connected to.
- Optionally, you can get a gun attachment for your Wiimote so you can feel like you’re actually holding a gun.
Setup
First we must sync the Wiimote with the Mister. To do that, open up the Wiimote’s battery compartment and you will see a red sync button. Hit that to set the Wiimote to pairing mode. Hitting button 1+2 at the same time will NOT work.
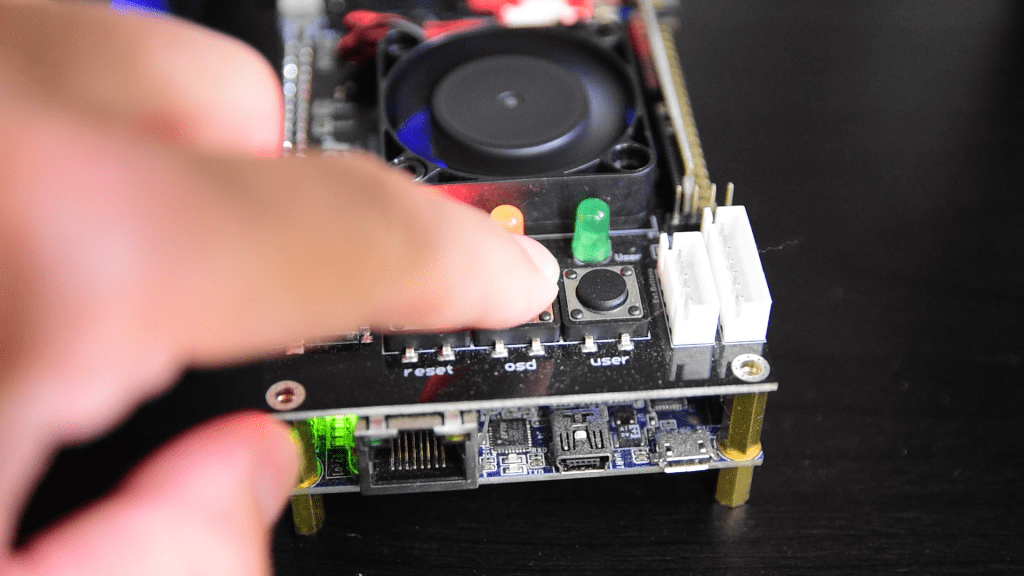
While the Wii is in pairing mode, we also have to put the MiSTer in paring mode. Do that by pressing and holding1 down the “OSD” button on the IO board. If you don’t have an IO board plug a keyboard into the MiSTer and hit the F11 key.
You will then see this screen and a Nintendo named device, that is circled in the image, will show up and automatically be paired.
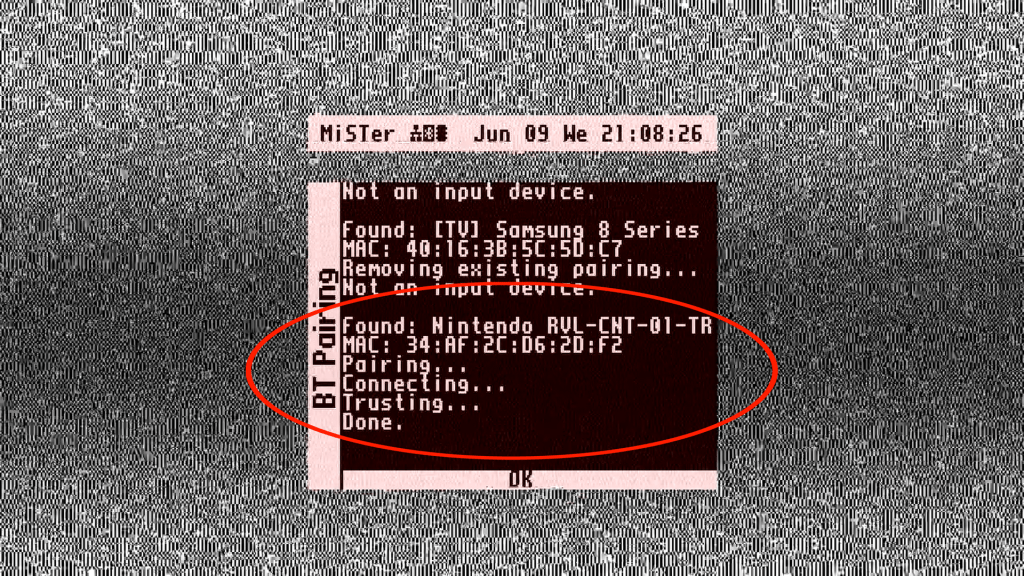
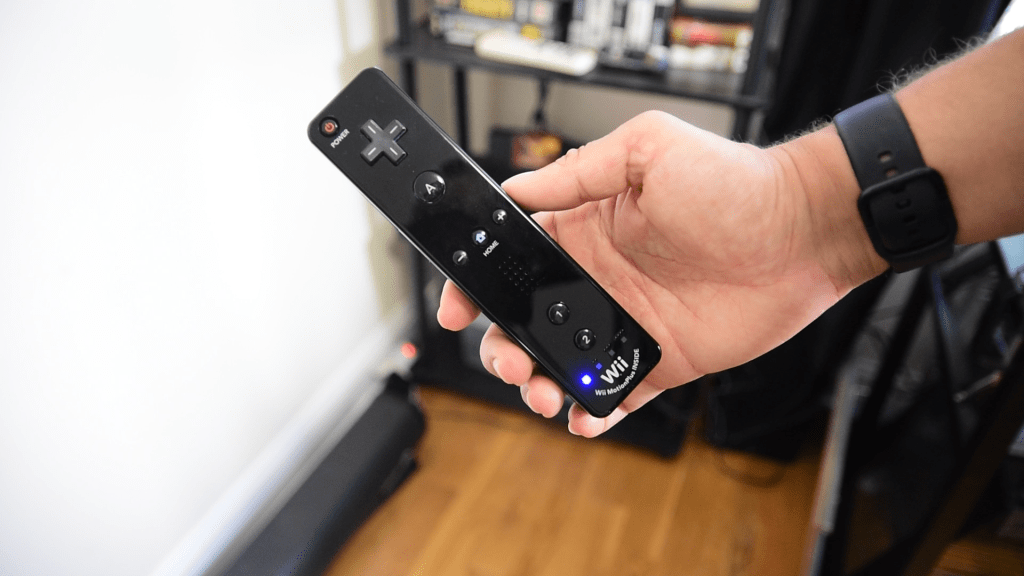
When the pairing is finished, the Wiimote will show on steady blue light in the front of it.
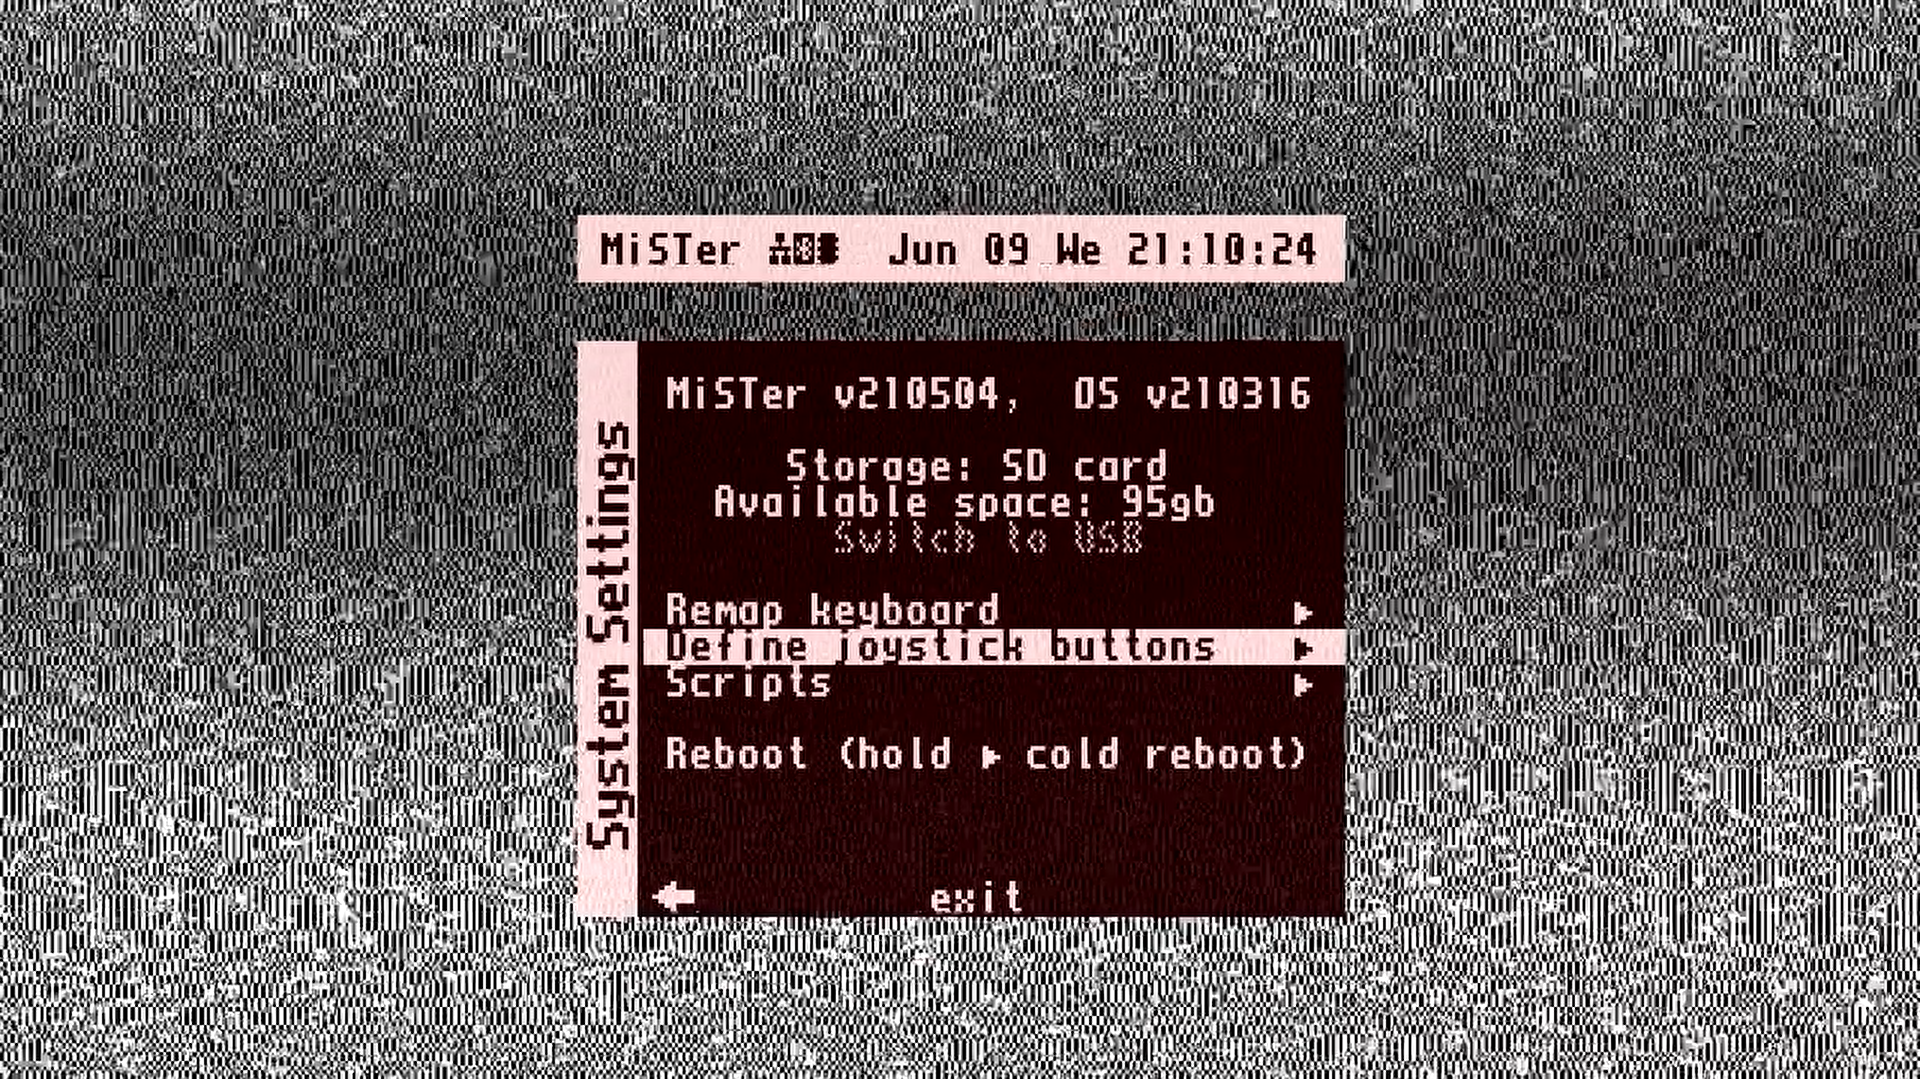
Now that the paring is complete you must define the Wiimotes buttons on the MiSTer OS at the below menu. Set the button config to what you want.
Configuring cores
Each core needs to be setup individually. You’ll have to enter each cores input or hardware options to get to these settings. Just bring up the MiSTer menu and scroll down to the “Input” option or the “Hardware” option if there is no Input option. Here are the settings for some cores.
- NES Core
- Periphery = Zapper(Joy1) or Zapper(Joy2)
- Set it to Joy1 if the Wiimote is the first player controller.
- Set it to Joy2 if the Wiimote is the first player controller.
- Zapper Trigger = Joystick
- Crosshairs: Option to enable or disable the crosshair and change it’s size.
- Make sure you define the Wiimotes buttons in the cores “Define NES buttons” menus.
- When ask for the Zapper/Vaus Btn, press the trigger on the Wiimote.
- Periphery = Zapper(Joy1) or Zapper(Joy2)
- Sega Master System Core
- Gun Control: Joy1 or Joy2
- Set it to Joy1 if the Wiimote is the first player controller.
- Set it to Joy2 if the Wiimote is the first player controller.
- Gun Port: Port1
- I’m not sure what this does. I think its for games that probably require the Zapper to plugged into a specific Master System controller port.
- Cross: Option to enable or disable the crosshair and change it’s size.
- Make sure you define the Wiimotes buttons in the cores “Define SMS buttons” menus.
- When asked for the Fire 1, press the trigger on the Wiimote.
- Gun Control: Joy1 or Joy2
- Genesis/Megadrive Core
- Gun Control: Joy1 or Joy2
- Set it to Joy1 if the Wiimote is the first player controller.
- Set it to Joy2 if the Wiimote is the first player controller.
- Gun Fire: Joy
- Cross: Option to enable or disable the crosshair and change it’s size.
- Make sure you define the Wiimotes buttons in the cores “Define SMS buttons” menus
- When asked for the Button A, press the trigger on the Wiimote
- Gun Control: Joy1 or Joy2
- SNES core
- Super Scope: Joy1 or Joy2
- Set it to Joy1 if the Wiimote is the first player controller.
- Set it to Joy2 if the Wiimote is the first player controller.
- Super Scope Btn: Joy
- Cross: Option to enable or disable the crosshair and change it’s size.
- Gun Type: Super Scope or Justifier
- This settings depends on the game. Konami games use the Justifier. Most other games will use the Super Scope. Try switching this if the light gun doesn’t work for certain games.
- Make sure you define the Wiimotes buttons in the cores “Define SMS buttons” menus
- Buttons that have (SS) on the input prompt are Super Scope buttons
- Super Scope: Joy1 or Joy2
After configuring a core to the specific settings, place the sensor bar on top or below your television.
Then just load a game and aim the the Wiimote at the screen. If you have the crosshair on, you will see a red cross hair move around.
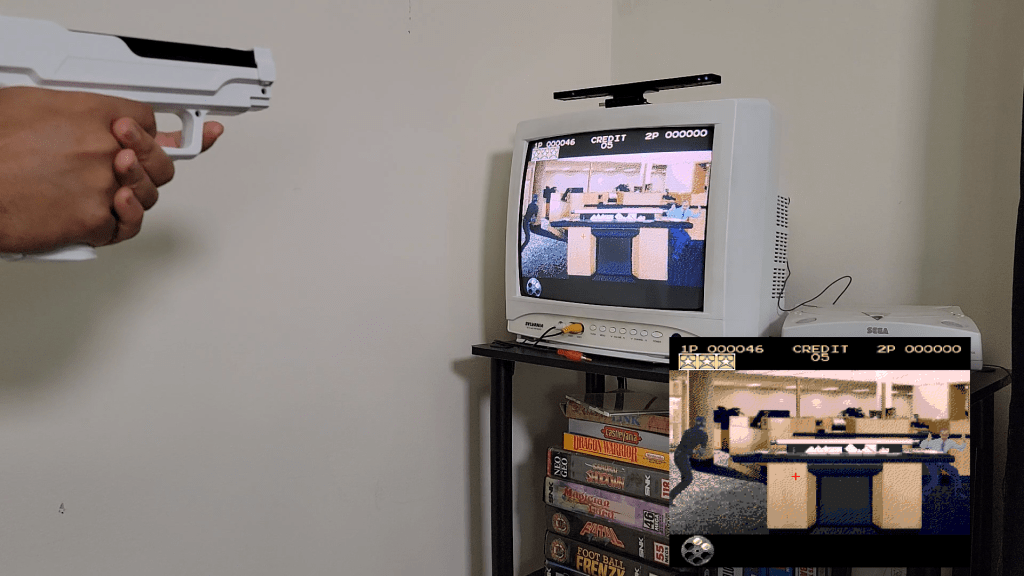
You’re all set now! Note that accuracy can vary widely. For me, the accuracy was really bad on my 13″ CRT and on one of my HDTV’s (42″). It did work well on one of my PC monitors (24″), so I’m leaving the senor bar on the monitor. I have the MiSTer FPGA outputting to both my CRT and monitor at the same time, so it will be an easy setup to use.
